This post is the ultimate blogging for beginners resource. I am going to hold your hand over the next five days and show you everything you need to do to start a blog. Keep it handy and come back to it over the next five days to check off each item on your to-do list.
This post may contain affiliate links, read the disclaimer here.
Blogging for Beginners: Start Your Blog in 5 Days
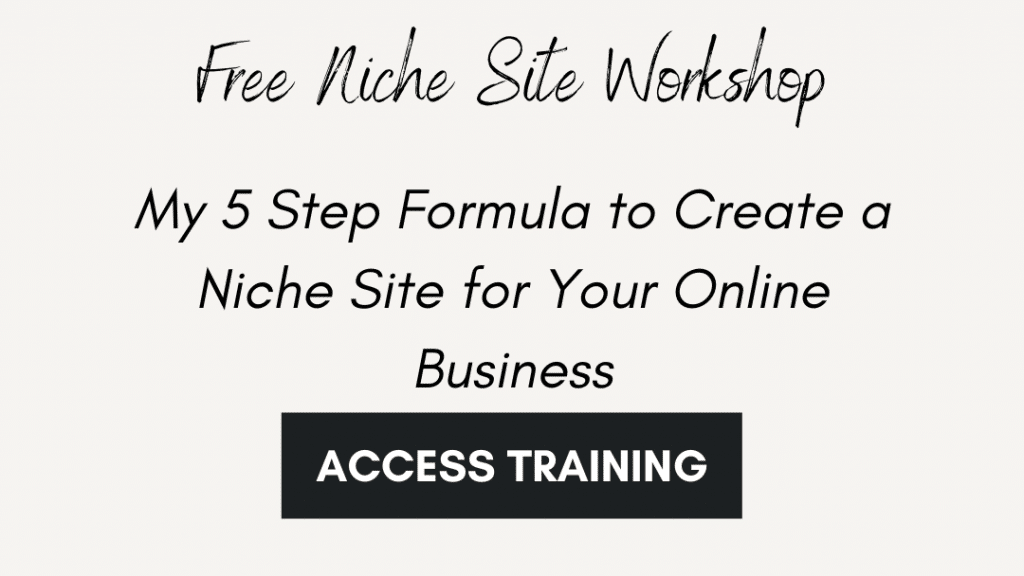
I used to offer 5-day blogging for beginners free course. Instead, I now offer a free 30-minute Niche Site Workshop because I found that you lose a lot of people over a 5-day period. However, I wanted to keep the info available somewhere, so I created this blogging for beginners post.
Day 1: Pick Your Blogging Platform
The blogging platform you pick will depend on your blogging goals. Do you want to earn an income or do you want to blog as a hobby?
Hobby blogger platforms
You will notice that the platforms I suggest for hobby bloggers are hosted, which means you don’t have to purchase hosting from a third party. The main advantages of self-hosting your blog are that you have access to more functionalities and can run ads. If you are blogging as a hobby, you don’t need to self-host your blog, but it doesn’t mean you shouldn’t. You decide! Here are the platforms I recommend for hobby bloggers:
- Squarespace: Squarespace is simple and functional. It includes the best site themes in the free blogging world.
- WordPress.com: WordPress.com is free to set up and easy to maintain. You can get third party themes, but you will have ads on your site (without getting paid).
- Medium: Medium is for authors who do not want to set up their own websites but are looking for a place to publish their content.
- Blogger: Blogger is a Google owned blogging platform. You can monetize your own ads on Blogger, but most bloggers who are serioius about blogging eventually move ont ot WrodPress.org.
- Wix: Another good hobby blogger platform that offers a decent number of customizations.
There are other hobby blogger platforms out there, but the ones I listed are the most noteworthy.
Professional blogger platforms
If you are hoping to earn money from your blog, the ultimate option is WordPress.org. It is the most customizable choice. For this reason, professional bloggers usually have a self-hosted blog on this platform. If this sounds intimidating, don’t worry, this post will help. You may also want to look into Squarespace even if you are going to blog to earn an income. Just keep in mind that there are a few drawbacks like not being able to get a third-party theme and having access to fewer customizations.

Day 2: Build a Brand
Even if you want to blog more as a hobby, your brand matters if you want people to read your blog. Your brand is how you stand out and what makes you different. I want you to consider your brand even before you start setting up your blog because it will directly affect the process.
Find Other Blogs in Your Niche
Finding blogs in your niche will help you get inspired for your own blog. It will give you a feel for the blog topics to cover, the monetization strategies you will be employing as well as layout ideas for your own site. I am not going to dwell on niche research here because I already wrote a post that takes you step-by-step through the process: How to Start a Niche Site That Can Actually Make a Full-Time Income. Moreover, my post Top 10 Must-See Niche Websites To Unlock Your Niche Research will help further. Do some niche research and think about what will make you different and what you want to emulate. Take notes!
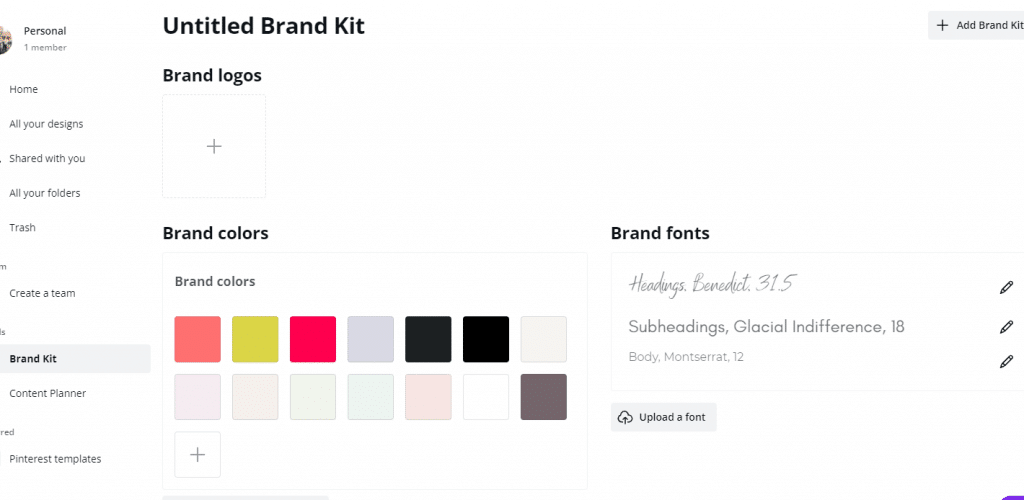
Create Your Branding in Canva
Canva is the most common platform for branding your site and your social media posts. If you buy templates, they are most likely to be created in Canva. The way you are going to create your branding in Canva is by creating your logo, picking your brand colors (which you will reuse on social media and on your site), and choosing brand fonts.
Your Logo
There are some logo templates in Canva. You can modify them to suit the style you want for your site. You can also create a 180 x 60 px design and use your brand fonts in a simple design.
Brand Fonts
Your brand fonts in Canva are located in the Brand Kit option, which you can see on the left of your screen. You can select one font for your headings, one for subheadings, and one for the body of your text. That being said, you don’t need to limit your font uses to these specific purposes. I often use my body font for headings and my headings font for subheadings, for example.
Brand Colors
Your brand colors will also be in your Brand Kit. Start with 3 or 4 colors. When you click on the plus side, you see a color wheel and can select your colors. Another option is to look online for color palettes and use the colors by entering the color numbers.
Day 3: Set Up Your Website
Ok, today is day 3 of this free blogging for beginners course and you get to set up your website. You are going to start by getting your hosting and then you are going to upload your theme to WordPress.
Get Your Hosting
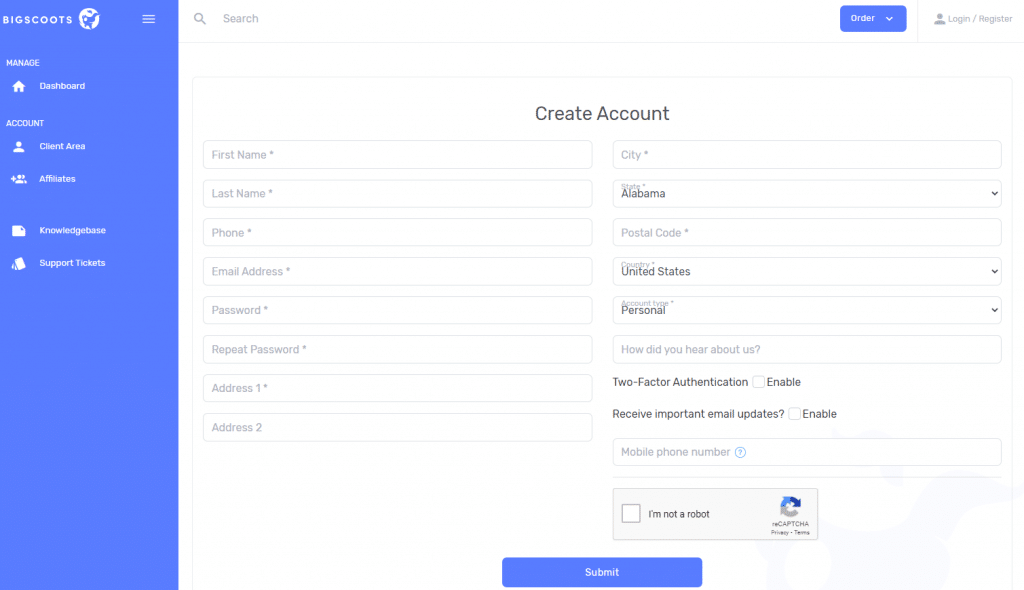
Most free blogging courses will recommend Bluehost as a hosting provider. I tried many different hosting providers and I ended up settling on Bigscoots. I find they offer the best value and customer service.
After clicking on Get Started at the top right corner of the screen, you will fill out the info below and pick your domain name (blog URL). Make sure your URL is as simple as possible. No numbers, special characters, and preferably the extension .com. Basically, it should be your site name.
Install WordPress
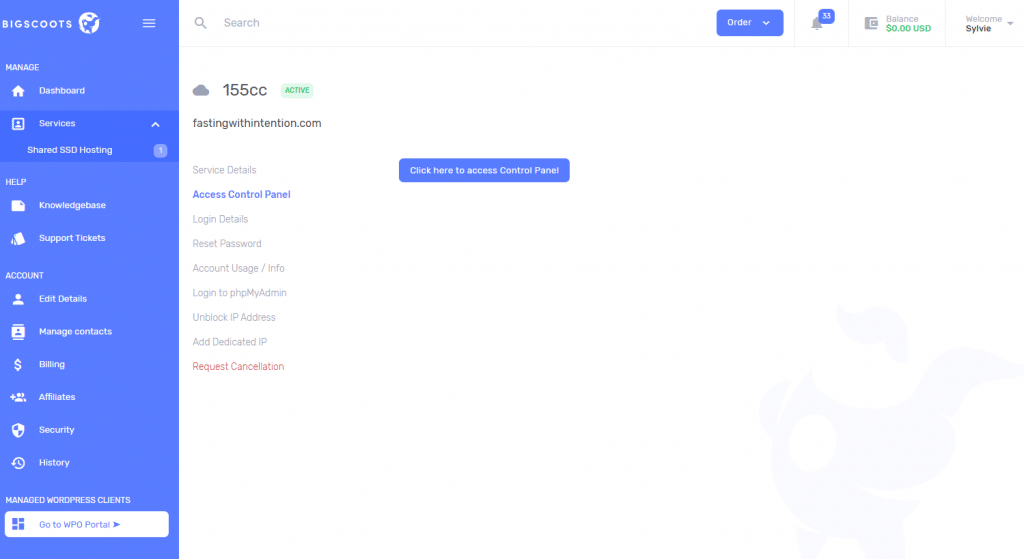
Next, you want to install WordPress in your hosting provider’s dashboard. Click on the blue button that says Click here to access Control Panel:
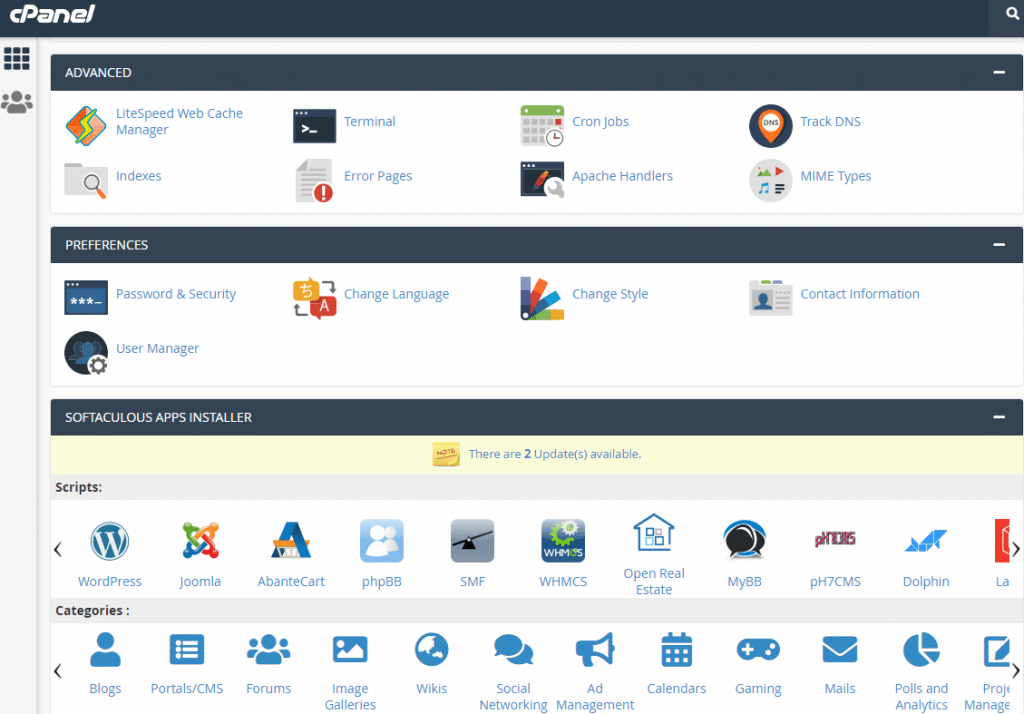
Once in your CPanel, you can install WordPress by using the Softaculous Apps Installer:
Set Up Your Theme
Now you can access WordPress from your hosting provider’s CPanel. In your WordPress dashboard, select your username and password by clicking on the menu item Users on the left. From now on, you can access your WordPress dashboard by entering yourdomain.com/wp-admin in your browser.
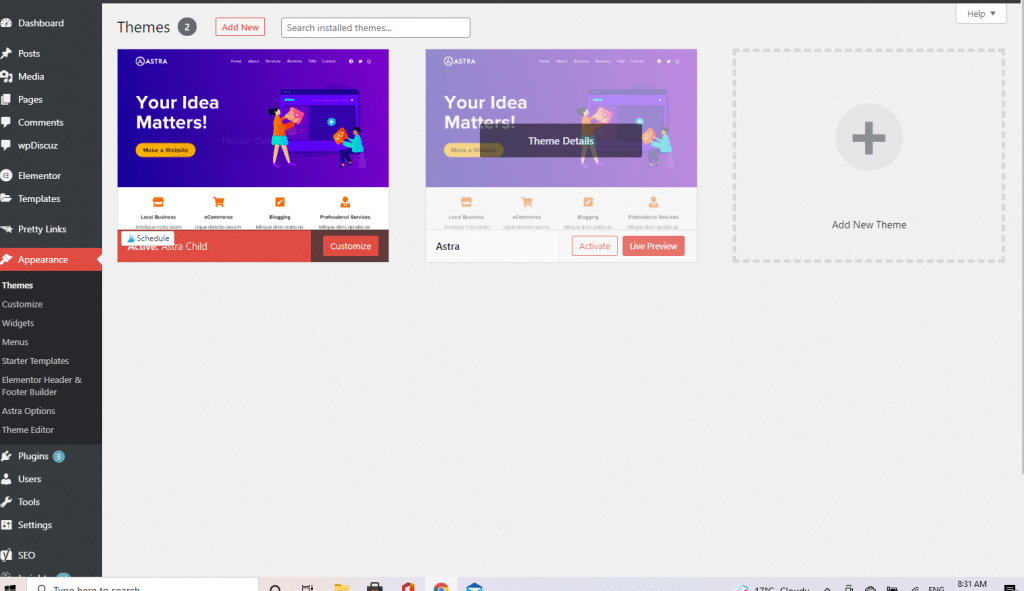
Find your theme by clicking on the option Appearance and Themes on the left menu. I don’t recommend free themes if you want to monetize your site. Paid themes are essential, they offer so many more features.
I recommend the Astra Theme and Elementor Pro. This combination is lightweight (it won’t slow down your website), it is highly customizable and the templates look beautiful. I tried so many themes over the years, but this is the hands-down winner! Make your purchases and download the zip files by login into your account or using the links that will be emailed to you.
When you go into Appearance-Themes, you can also click on Add New. This is where you will be able to upload your zip file if you do purchase and download the Astra Theme and Elementor Pro.
Day 4: Install Your Plugins
Today should be fairly quick. You will Install Elementor Pro and your Astra plugins if you haven’t already as well as a few more plugins.
Click on Plugins in your WordPress dashboard. Then, you will have the option to search plugins or to Add New just like when you uploaded your theme. Add new to install your Astra and Elementor Pro plugins.
Then, search the following:
- Anti-Spam
- Yoast SEO
- Pretty Links
- Social Warfare
- WDV About Me Widget
- WP Rocket
- Wordfence
Install and activate your plugins.

Day 5: Structure Your Blog
The final touches to your site before you start writing blog posts!
The first thing you need to do is to select your WordPress settings. Check all the items in the Settings menus and pick your preferences, including your author name and email (in the Users menu, you need to create a new username and password as well).
I recommend you set your homepage to a static page. After doing that, click on the menu item Pages and Add New. At the top of your screen, you will see the button Starter Templates.
Click on the button and you will see all your starter template options. When you click on a set of starter templates, you can Preview it in a new tab. If you like it, you can download the pages by clicking on Download Entire Site.
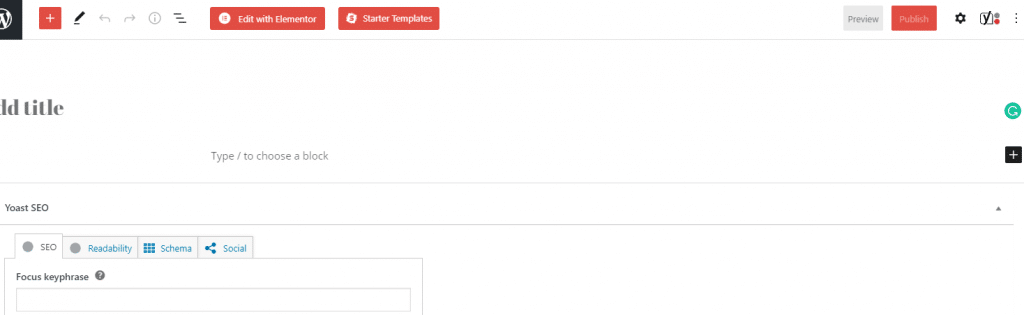
After downloading starter templates, you will see all your pages in the Pages menu. To edit them, you need to use Elementor, so make sure you click on Edit With Elementor.
Your Menus
After creating your pages, you will be able to set up your menus by clicking on Appearance and Menus. Create your primary menu by adding your main pages. You will also need to create a footer menu that includes your disclaimer, privacy policy as well as your terms and conditions.
Need Further Help?
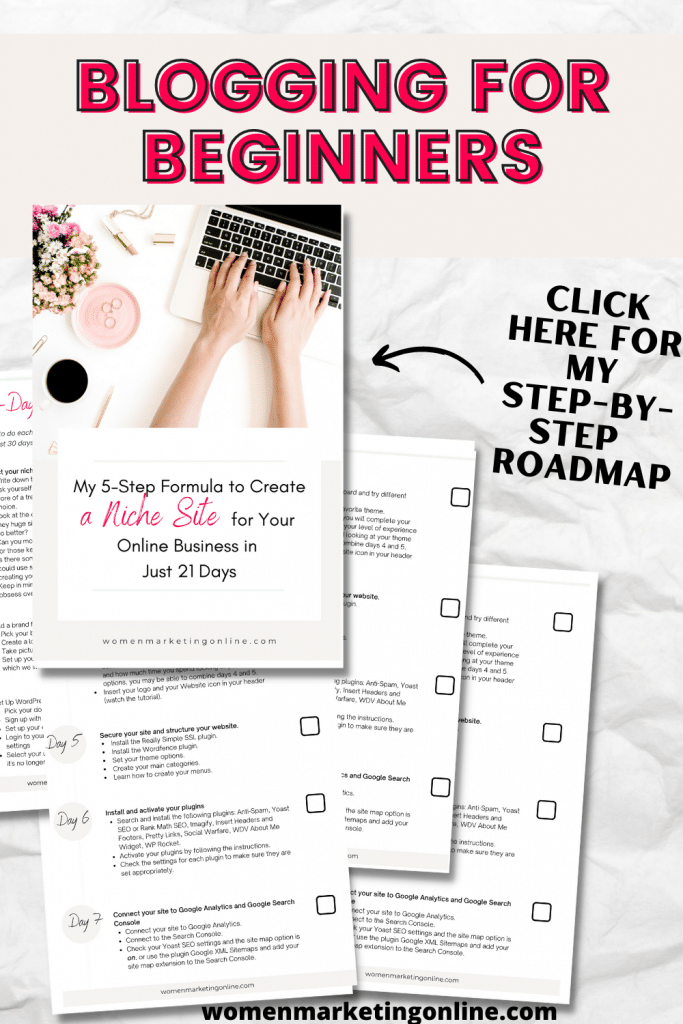
I created a full 21-Day Roadmap to take you through the process of creating your blog. It’s included with my 5-Step Formula to Create a Niche Site for Your Online Business. My course is The Ultimate Solution to Earn a Full-Time Income By Creating Content With a Purpose.

In Summary
This free blogging for beginners course includes all the info you need to start a blog. However, if you want to save time with my follow-along tutorials and lessons that will take you through the process of picking your niche, finding monetization strategies, setting up a marketing funnel, and creating content with a purpose, don’t forget to check out my full-length course my 5-Step Formula to Create a Niche Site for Your Online Business in Just 21 Days.